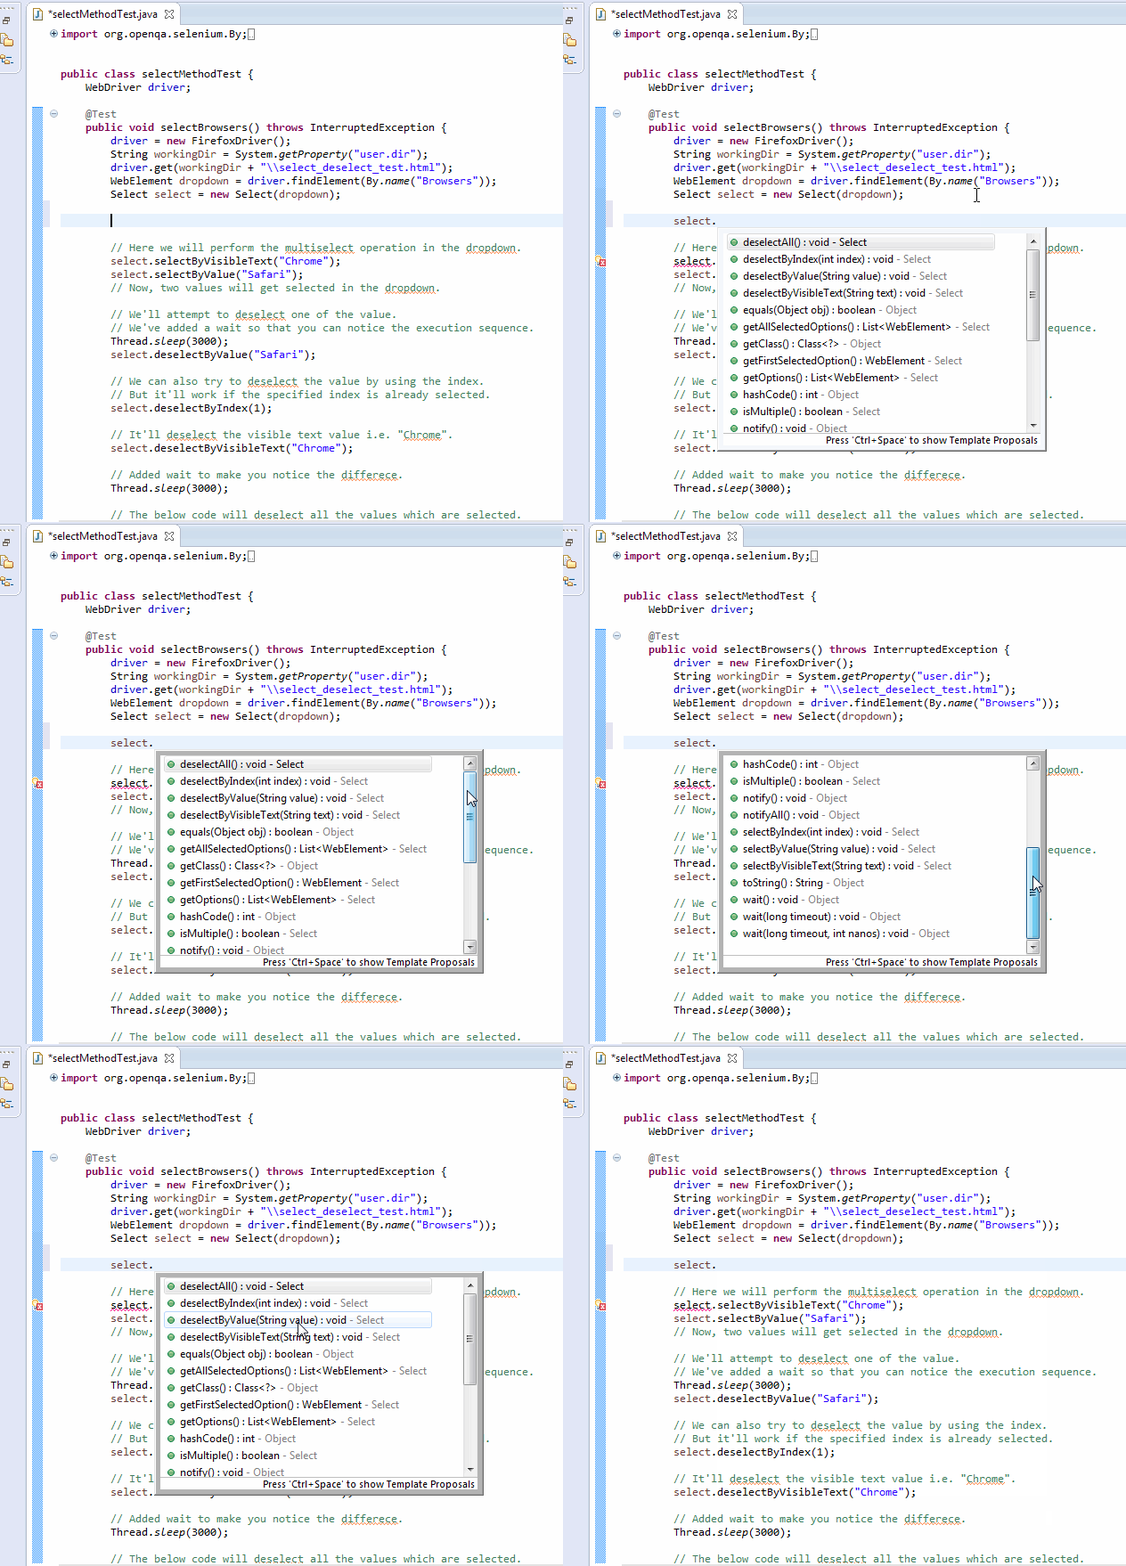
In our last conversation, we’d seen the handling of checkbox & radio buttons in Webdriver. The next set of HTML fields that you have to face are dropdown and multiple select. In today’s post, we’ll discuss the best ways to work with these elements.
The most basic approach for handling them is first to locate their element <group>. We’ve labeled it as a <group> because none of the Dropdown and Multiple Select is a singular entity. They do have the same identity which serves to hold more than one element.
You can simply think of both of them as containers for holding multiple options. The only difference between them is the deselecting statement & the multiple selections which don’t apply to Dropdowns.
If you wish to go through the basic Webdriver commands, then please save it for now and read it later.
Handling DropDown And Multiple Select in Webdriver

In Selenium Webdriver, we can automate the dropdown and multiple selects in many of the following ways. Please check the details below and run the code to experience it practically.
1- Using Select Class in Selenium Webdriver
The Select is a Webdriver class that can work with the HTML SELECT tag. It exposes several “Select By” and “Deselect By” type methods. You can apply these methods to change the value in the dropdown and multiple select fields.
This class is part of the org.openqa.selenium.support.ui.Select package. Apart from its unique ability, the Select class acts normally. You can define it using the <new> keyword following the standard syntax.
Select select = new Select(<WebElement object>);
You must pass a dropdown or multi-select element to this as shown in the above code.
You can get more clarity by using the Select class, just look at the below Java code.
WebElement dropdown = driver.findElement(By.id("Browsers"));
Select select = new Select(dropdown);

// Alternatively, you can shorten the same code as given below.

Select select = new Select(driver.findElement(By.id("Browsers")));
Note: For your information, the Selenium Select class only supports the elements belonging to the HTML <Select> tags.
Once you get the <Select> object initialized, you can access all the methods given by the <Select> class. Please refer to the below sections for details on the <Select> class methods.
In the below sections, you’ll get to know how to work with DropDown and multi-select elements. In the Webdriver’s <Select> class, there are many interesting operations available for these fields.
Next, we hope that you are already aware of the characteristics of a DropDown in the HTML code. If yes, then you would easily understand the HTML source code that we’ve provided for every select/deselect method.
This HTML will present a regular dropdown box on the web page. Let’s now read about the most used select/deselect methods.
2- Different Select Methods with HTML sample
2.1- selectByVisibleText Method
Command Syntax- select.selectByVisibleText(<Text>);
Usage- It selects all options that match the input text in the argument. It won’t consider any index or value, and it’ll only match the visible text in the dropdown field.
Please refer to the below sample HTML file which we’ll use to demonstrate the usage of this method.
Example – HTML sample code for testing
<!DOCTYPE html>
<html>
    <head>
        <meta charset="UTF-8">
            <title>Select Example By Visible Text</title>
        </head>
        <body>
            <html>
                <body>
                    <select name="Browsers">
                        <option value="0" selected>Select...</option>
                        <option value="1">Chrome</option>
                        <option value="2">FireFox</option>
                        <option value="3">IE</option>
                        <option value="4">Safari</option>
                        <option value="5">Opera</option>
                    </select>
                </body>
            </html>
        </body>
    </html>
Sample Webdriver code using the Select by Visible Text method
Below is the Java code to select the value based on the visible text.
import org.openqa.selenium.By;
import org.openqa.selenium.WebDriver;
import org.openqa.selenium.WebElement;
import org.openqa.selenium.firefox.FirefoxDriver;
import org.openqa.selenium.support.ui.Select;
import org.testng.annotations.Test;

public class selectMethodTest {
	WebDriver driver;

	@Test
	public void selectBrowsers() {
		driver = new FirefoxDriver();
		String workingDir = System.getProperty("user.dir");
		driver.get(workingDir + "\\selectByVisibleText.html");
		WebElement dropdown = driver.findElement(By.name("Browsers"));
		Select select = new Select(dropdown);
		select.selectByVisibleText("FireFox");
	}
}
2.2- selectByIndex Method
Command Syntax- select.selectByIndex(Index);
Usage- It performs the selection based on the index value supplied by the user.
Every Dropdown field has an attribute that holds the index values. We specify it as <values>.
Example – HTML sample code for testing
You can use the same HTML code as given in the previous method.
Sample Webdriver code using the Select by Index method
Here is the Webdriver’s Java code that simulates the selection of the value by index.
import org.openqa.selenium.By;
import org.openqa.selenium.WebDriver;
import org.openqa.selenium.WebElement;
import org.openqa.selenium.firefox.FirefoxDriver;
import org.openqa.selenium.support.ui.Select;
import org.testng.annotations.Test;

public class selectMethodTest {
	WebDriver driver;

	@Test
	public void selectBrowsers() {
		driver = new FirefoxDriver();
		String workingDir = System.getProperty("user.dir");
		driver.get(workingDir + "\\selectByIndex.html");
		WebElement dropdown = driver.findElement(By.name("Browsers"));
		Select select = new Select(dropdown);
		select.selectByIndex(4);
	}
}
2.3- selectByValue Method
Command Syntax- select.selectByValue(Value);
Usage- It selects the options that satisfy the value supplied by the user in the argument.
Example – HTML sample code for testing
<!DOCTYPE html>
<html>
    <head>
        <meta charset="UTF-8">
            <title>Select Example By Value</title>
        </head>
        <body>
            <html>
                <body>
                    <select name="Browsers">
                        <option value="0" selected>Select...</option>
                        <option value="Chrome">Chrome</option>
                        <option value="FireFox">FireFox</option>
                        <option value="IE">IE</option>
                        <option value="Safari">Safari</option>
                        <option value="Opera">Opera</option>
                    </select>
                </body>
            </html>
        </body>
    </html>
Sample Webdriver code using the Select by Value method
This Webdriver code shows how to select a value using the <selectByValue> method.
import org.openqa.selenium.By;
import org.openqa.selenium.WebDriver;
import org.openqa.selenium.WebElement;
import org.openqa.selenium.firefox.FirefoxDriver;
import org.openqa.selenium.support.ui.Select;
import org.testng.annotations.Test;

public class selectMethodTest {
	WebDriver driver;

	@Test
	public void selectBrowsers() {
		driver = new FirefoxDriver();
		String workingDir = System.getProperty("user.dir");
		driver.get(workingDir + "\\selectByValue.html");
		WebElement dropdown = driver.findElement(By.name("Browsers"));
		Select select = new Select(dropdown);
		select.selectByValue("Opera");
	}
}
3- DeSelect Methods with HTML sample
3.1- deselectByIndex Method
Command Syntax: select.deselectByIndex(<Index>);
Usage: Use it when you want to deselect any option via its index. It accepts the index as an argument.
Please follow the live example given at the end of this section.
3.2- deselectByValue Method
Command Syntax: select.deselectByValue(<Value>);
Usage: When you wish to deselect all options using a value that matches the value in the dropdown options.
Please follow the live example given at the end of this section.
3.3- deselectByVisibleText Method
Command Syntax: select.deselectByVisibleText(<Text>);
Usage: Use it to deselect all options by supplying the input text that matches the text in the dropdown options.
Please follow the live example given at the end of this segment.
3.4- deselect all Method
Command Syntax: select.deselectAll( );
Usage: Use it to turn off all the selected entries at once. But you can use this method if the <Select> tag has <multiple> attributes enabled in the HTML.
Otherwise, it’ll throw the <NotImplemented> exception. Hence, it’s compulsory to have an attribute like <multiple=”multiple”> while defining the <Select> tag.
Please follow the live example given below.
Example – HTML sample code for testing
HTML sample code for illustrating the <dropdown and multiple select> operations.
<!DOCTYPE html>
<html>
    <head>
        <meta charset="UTF-8">
            <title>Select/deselect dropdown Example</title>
        </head>
        <body>
            <html>
                <body>
                    <p>What all browsers do you use to search?</p>
                    <select name="Browsers" multiple="multiple">
                        <option value="0" selected>Select...</option>
                        <option value="Chrome">Chrome</option>
                        <option value="FireFox">FireFox</option>
                        <option value="IE">IE</option>
                        <option value="Safari">Safari</option>
                        <option value="Opera">Opera</option>
                    </select>
                </body>
            </html>
        </body>
    </html>
Sample Webdriver code to handle dropdown and multiple select
Here is the code to perform actions on the <dropdown and multiple select> elements.
import org.openqa.selenium.By;
import org.openqa.selenium.WebDriver;
import org.openqa.selenium.WebElement;
import org.openqa.selenium.firefox.FirefoxDriver;
import org.openqa.selenium.support.ui.Select;
import org.testng.annotations.Test;


public class selectMethodTest {
	WebDriver driver;

	@Test
	public void selectBrowsers() throws InterruptedException {
		driver = new FirefoxDriver();
		String workingDir = System.getProperty("user.dir");
		driver.get(workingDir + "\\select_deselect_test.html");
		WebElement dropdown = driver.findElement(By.name("Browsers"));
		Select select = new Select(dropdown);

		// Here we will perform the multiselect operation in the dropdown.
		select.selectByVisibleText("Chrome");
		select.selectByValue("Safari");
		// Now, two values will get selected in the dropdown.

		// We'll attempt to deselect one of the value.
		// We've added a wait so that you can notice the execution sequence.
		Thread.sleep(3000);
		select.deselectByValue("Safari");

		// We can also try to deselect the value by using the index.
		// But it'll work if the specified index is already selected.
		select.deselectByIndex(1);

		// It'll deselect the visible text value i.e. "Chrome".
		select.deselectByVisibleText("Chrome");

		// Added a pause to make you see the difference.
		Thread.sleep(3000);

		// The below code will deselect all the values which are selected.
		select.deselectAll();
	}
}
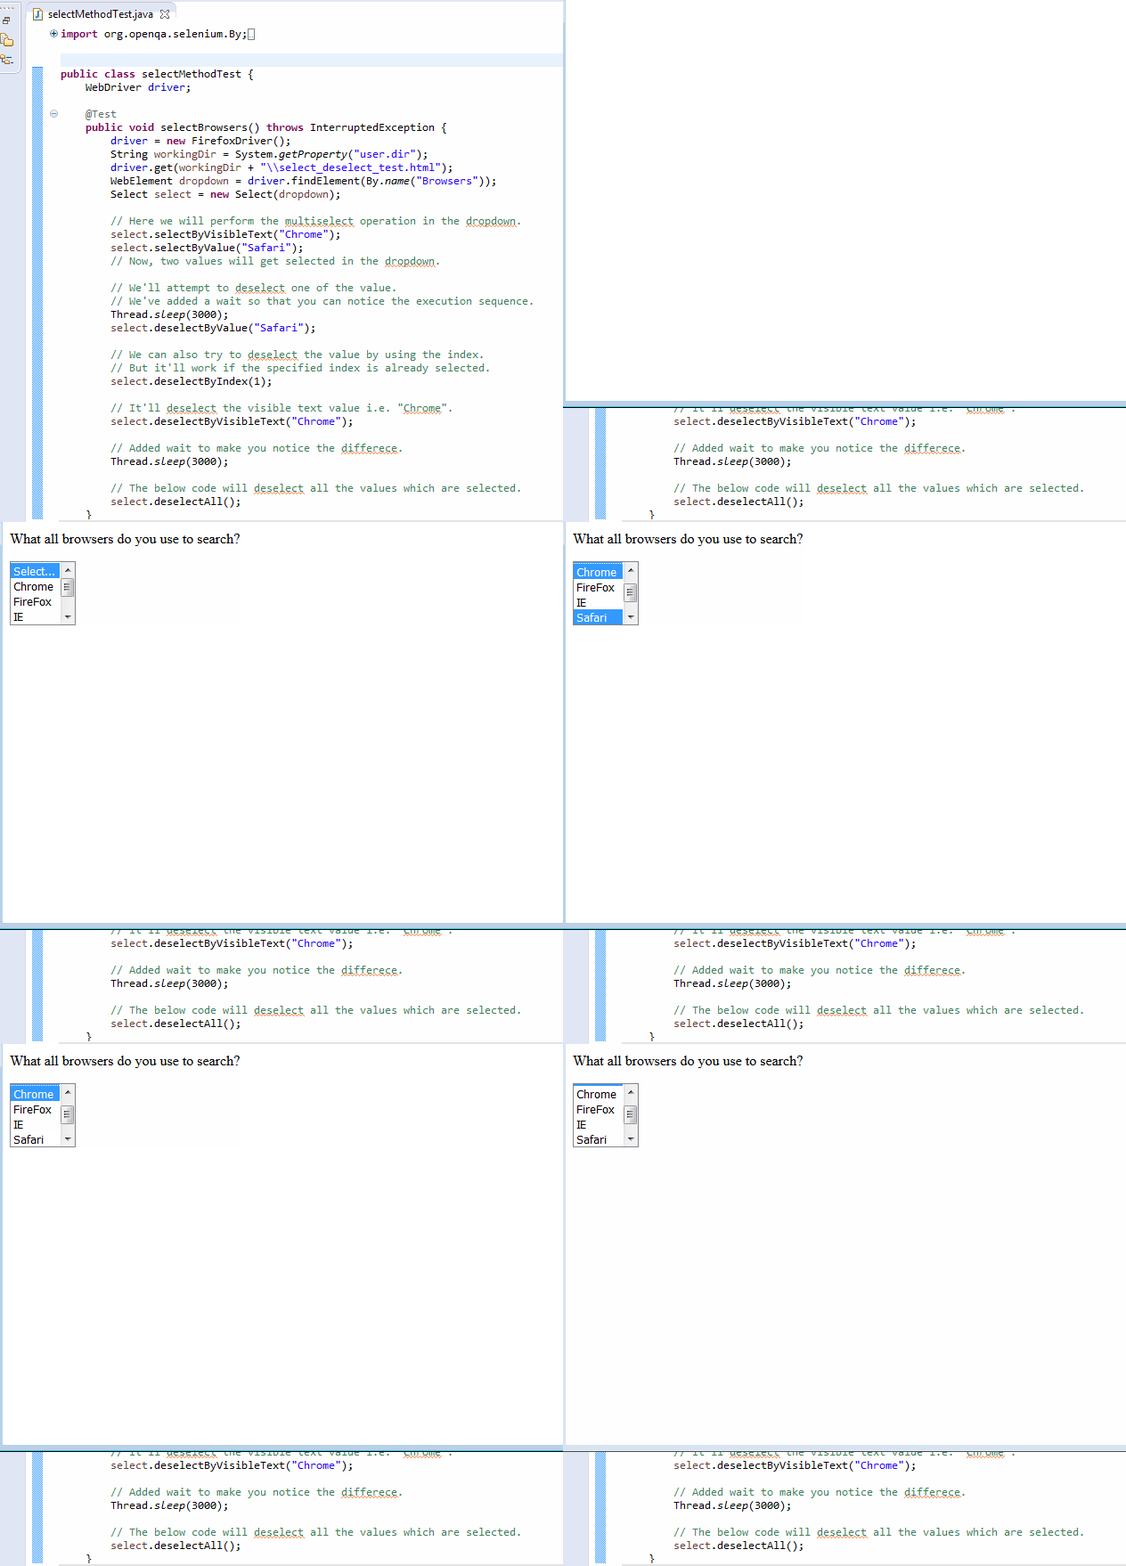
4- Live animated GIF to illustrate deselect/multi-select actions
Let’s watch the DropDown And Multiple Select actions using Webdriver commands.
Conclusion
We hope the above tutorial gave you some help to learn. It includes everything so that you can run the code and see it in action by yourself. By the way, do let us know if you want us to cover some other topic.
Best,
TechBeamers.


